
This week I've been making lots of bracelets so I thought I'd share some photos from the workshop. I was going to go through how I make our Claddagh and Ogham bracelets but actually when I was going through the photos I realised I had so many snaps of just making the t-bar clasp I should just share those. I'm sure most people when buying a bracelet won't really notice the clasp so I wanted to show you the work that goes into the humble t-bar.

I begin with a length of round silver wire and start measuring out the lengths I need. I cut these by hand and file and polish the sharp ends.
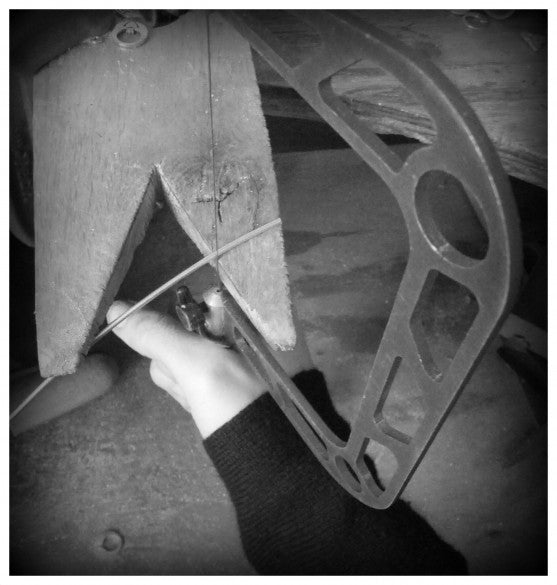

When I have the straight lengths cut and filed it's time to start shaping them into that lovely curve.

I begin by creating the curve on my ring mandrel with a raw hide mallet so it will not mark the silver.
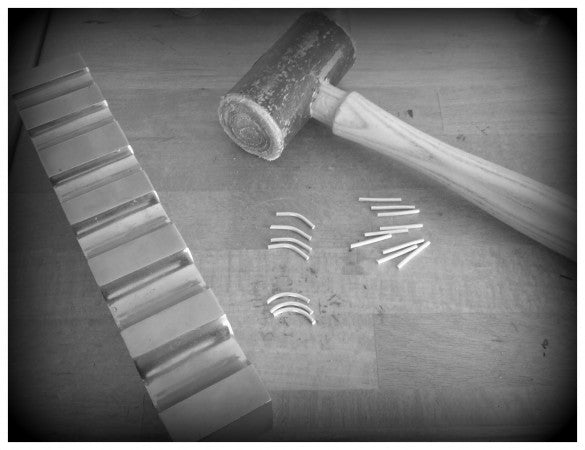
Then to get a deeper curve I use my block which has a series of different sized curves which the wire can be hammered into to give me the t bar shape.

Then it's on to the second piece of the t bar, the little ring on top. I make these by hand using a very thin round stake. After softening the silver I gently wrap the wire around the stake to give me these perfectly shaped rings.
 Then it's just a matter of soldering the two components together.
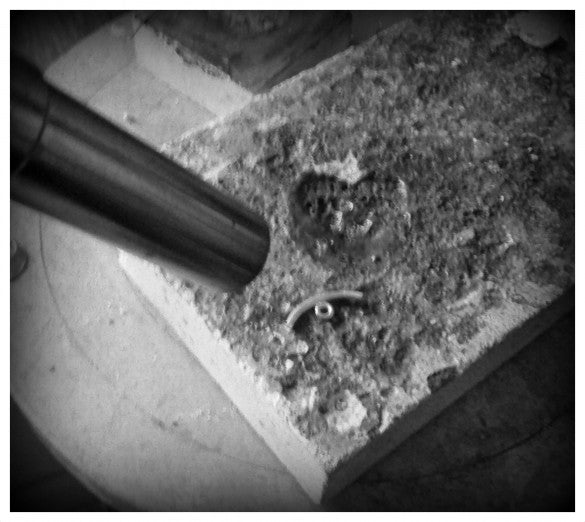
When all the soldering is done the silver has to be cleaned. This is to remove any fire scale from the surface. To make life easier and to avoid dropping them everywhere I usually clean them in batches by stringing them on to a piece of copper wire.

Once they have been polished and finished they are ready to take their place on our
